


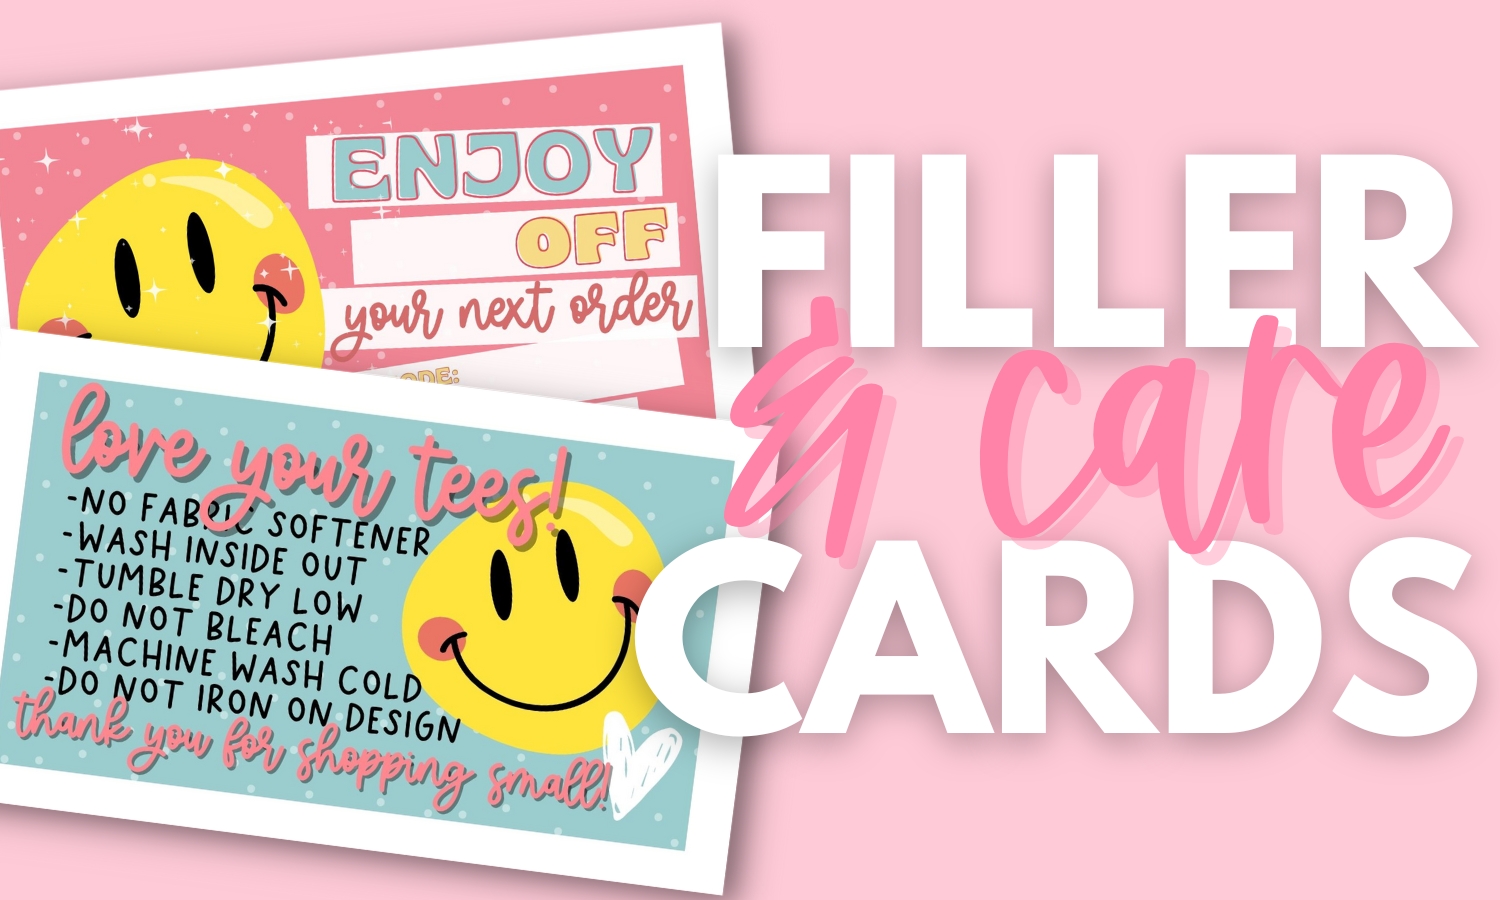


Uncategorized
Using DXF Files In Silhouette Basic Software
Section 1: Unzipping
Unzip your file and save it to a new location. ***NOTE*** IF IT IS STILL ZIPPED AND IN YOUR DOWNLOADS FOLDER, SILHOUETTE WILL NOT BE ABLE TO SEARCH FOR IT.
If you know how to unzip and move to a new folder you can skip to 2.
HOW TO UNZIP FOR PC
After downloading to your computer, RIGHT CLICK on the file you want to unzip and choose “EXTRACT ALL.”


After you extract, it should open up the folder and show you 5 files. EPS, SVG, PNG, DXF and JPEG (Which is the watermark image).
**SIDE NOTE**If it does not show you the SVG file, but shows something in its place, chances are that another program, (IE usually,) has claimed the file. But if you right-click on it, and look at properties, it will show you that it is an SVG file.)

This is what you need to move to a new location. So you can go back into your downloads folder, located the UNZIPPED folder and then drag it to your desktop (or wherever you save your files.)

SECTION 2: Cutting by Color
Now that you have it unzipped and saved to a new location, you can then open up your Silhouette software. To open, choose “FILE” and then “OPEN.”
Choose the DXF format. SVG WILL NOT BE AN OPTION IF YOU DO NOT HAVE DESIGNER EDITION.

It will open like this.

If you are using HTV (heat transfer vinyl for clothing) you will need to mirror. Choose “OBJECT,” “MIRROR” then “FLIP HORIZONTALLY.”

Sometimes DXF files will lose some of the colors in the designs. It’s just the nature of the file. It tries to simplify things. So to make them have different colors for different vinyl, you will SELECT the item you want and then right-click and choose “RELEASE COMPOUND PATH.” (It will not work by just hovering over it and right clicking.)

When you “RELEASE COMPOUND PATH” this is telling Silhouette to make every line its own section. So to change the color on the lines, select EVERY element by holding down “shift” as you select the elements. Notice I have the inside and the outside of each “o” selected. Once selected, I can go to “LINE COLOR WINDOW” in the top right menu bar and choose a different color for my “o’s.”

After you change your color, GROUP whatever you would like to be together. In this case, I am just grouping the “o” pieces together so I can move each of the “o’s” together to save vinyl when I cut.

After those are grouped, you can move your same color items next to each other to prepare to cut.

//
SECTION 3:Preparing to cut.
Now here’s how you cut different colors. Go to “CUT SETTINGS.”
VERY IMPORTANT: Make sure you click “CUT”

Under “LINE COLOR” it will bring up the list of colors in the design.

The layout of the items and the mat you’re seeing on your screen is how it will cut on your mat. If you wanted to lay out your vinyl in different colors on your mat, you can! But it isn’t always fool-proof and could waste vinyl. So until you’re a bit more comfortable with lining up your vinyl. I recommend doing it the following way.
Use the check boxes to select the color you want to cut and find the type of vinyl that you are using in the “MATERIAL TYPE” menu.
HTV will use “HEAT TRANSFER MATERIAL – SMOOTH” and glitter HTV will use “HEAT TRANSFER MATERIAL – FLOCKED.”

Follow the directions for where you should set your blade. HTV Smooth is 2 and HTV flocked is 3. You will need to change your blade for this.
Speed and thickness are automatic. You can manipulate them, but there is nothing additional for you to do on the machine.
I also turn my “DOUBLE CUT” on. Not everyone does, but I personally do. See what works best for you!

You can do a test cut if you would like to double-check the settings. It will cut in the top left corner, so make sure you move your design down after it does its test cut. Or you can skip the test cut and push SEND TO SILHOUETTE and it will cut! After that section is done cutting, you will just repeat the process again moving the next sections to the top of your mat on the screen and changing the settings for HTV and sending to Silhouette again each time!


You did it!
A FEW THINGS ABOUT DXF FORMAT:
- It has many more nodes than SVG format does. Nodes tell the blade to slow down and think about what’s next. Therefore, your cutting will be slower than if would be if you had Designer Edition and used SVG’s, OR if you created your own .studio file.
- Once you’re comfortable playing with your software, you can go to the “OFFSET WINDOW” and add a small offset of .002 and it will reduce the number of nodes in the file and will help it cut faster!
- You can change the color on the screen by going to the “FILL COLOR” window.
I hope you found this helpful! Please share what you make with HoopMama’s designs on the HoopMama Facebook Group!