


Uncategorized
Mock-Ups Made Easy
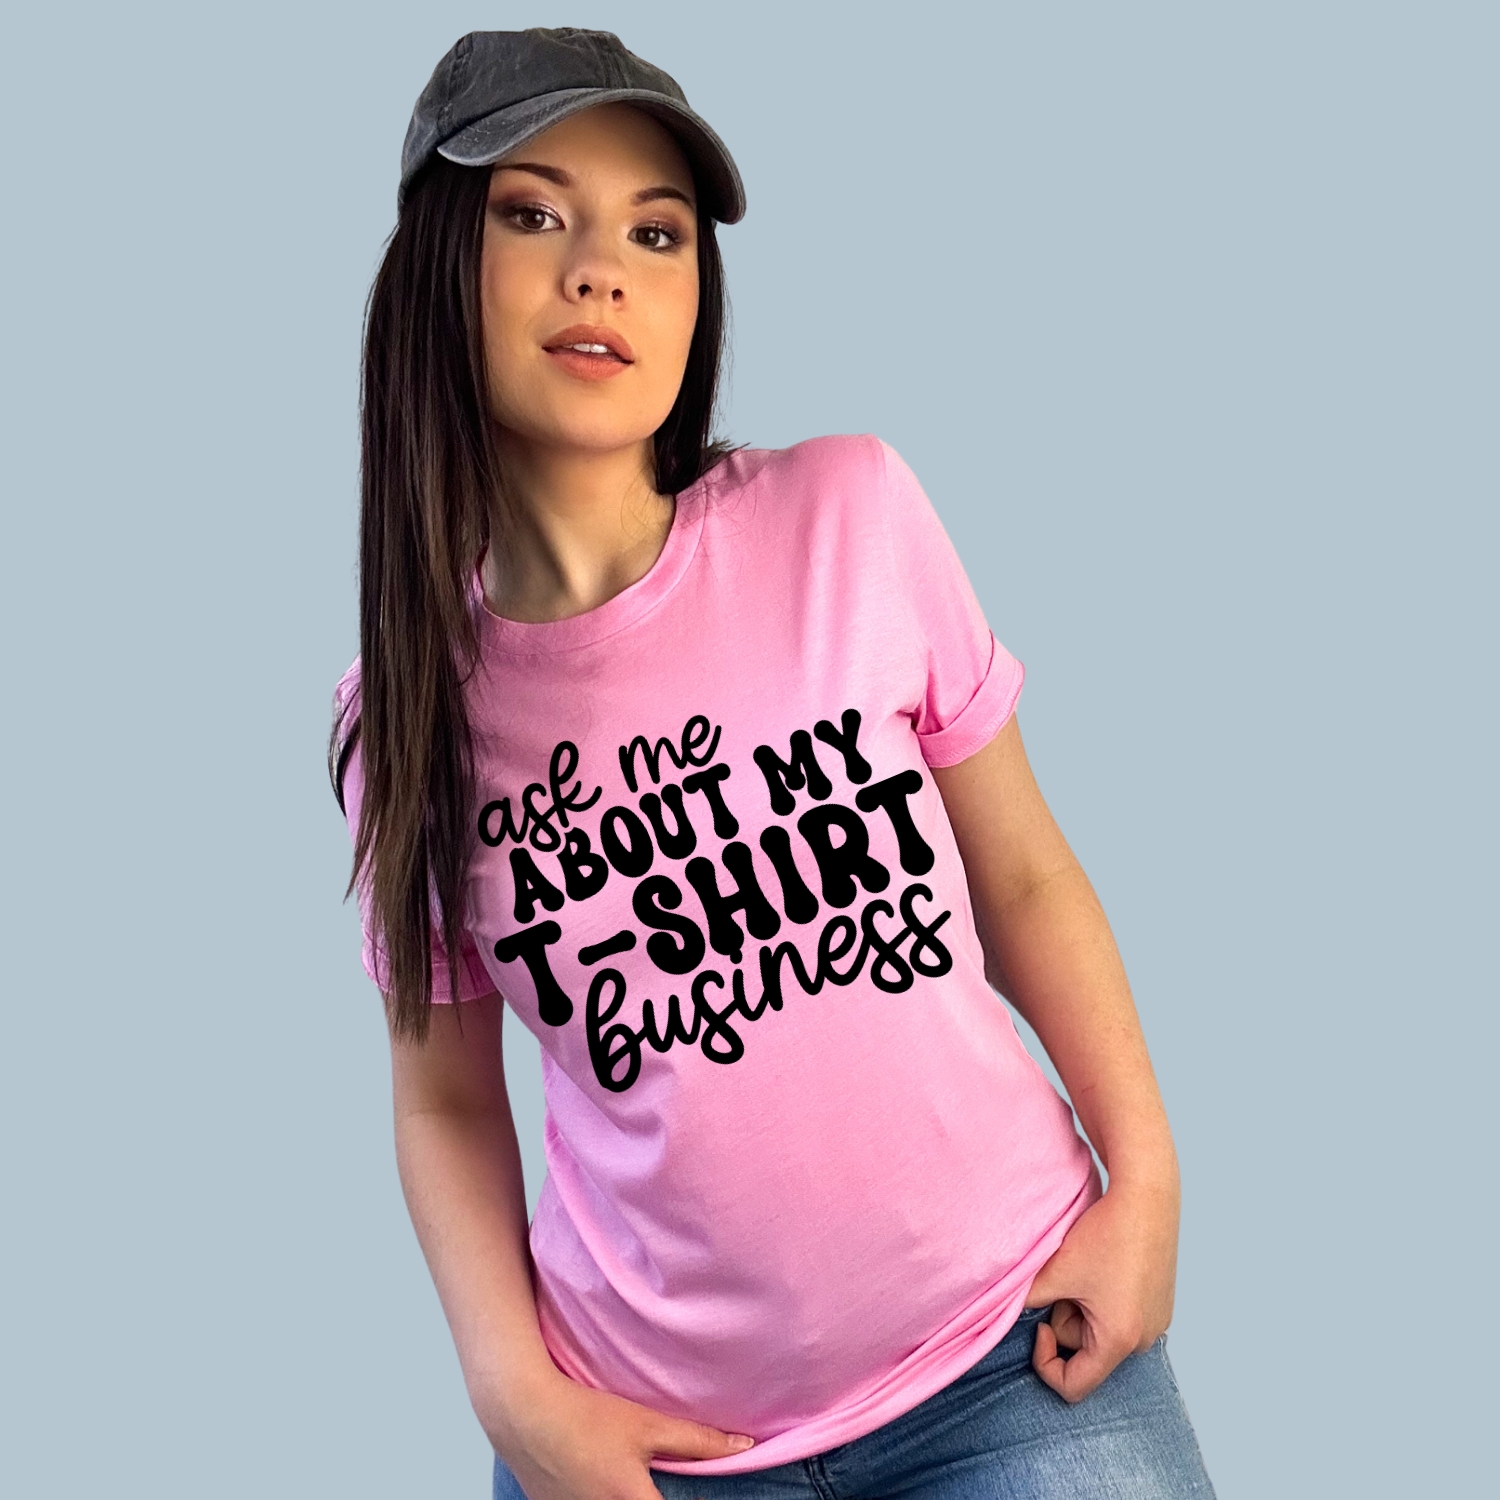
Mock-ups are a hot topic right now! Who doesn’t like the idea of being able to quickly show your customers what designs you have without wasting precious blanks, and it actually look presentable? This blog post is going to show you how to quickly make mock-ups of designs in your library that you can use on your Facebook page, website, Instagram and more!
Mock-ups will help with branding like I talked about last week in the “How To Brand Your Business” post. They will also allow your customers to visualize the design on the actual shirt/mug/etc… which in turn, will help with sales. Plus, it’s also just a nice way to present yourself as a business owner, rather than saying to a customer “go to hoopmamadesigns.com and see if you like anything” or using images with other businesses watermarks.
Now, while these are perfect to show the designs you have in your library, once you create a product using the design, it’s a good idea to take pictures of the actual item to show your quality of work. Also keep in mind that Etsy doesn’t allow mock-ups as the first image of a product listing since it does not represent the final product that will be purchased. A lot of people will do a “sample sale” on their Facebook page with the mock-up at a reduced price so that they can then create the item and have an order already for it. Then they post the completed item’s picture on Etsy. However you decide to do it, it’s just a good idea to make it clear that it is a mock-up and that the completed item may vary in size/color, etc.
I will be showing you how to do mock-ups using PicMonkey. HoopMama’s cutting files already come in a format that will work for this. Embroidery files will have a little extra step. I will show you that step using Embird software but I’m sure other software will do the same thing.
We will just be using the free version of PicMonkey, but they also have a paid version that is very easy to use and opens up more options. The extra options are great for things like fixing wrinkles or editing out unwanted items. They also have a 2 week free trial so you don’t have to commit before you make sure it’s right for you.
CREATING A MOCK UP WITH HOOPMAMA CUTTING FILES
Visit PicMonkey.
Choose “Edit” at the top of the screen.
- It will direct you to open a file from your computer. You can choose a mock-up you’ve created, or choose one of HoopMama’s Mock-Ups!

- After you open your background image, you will choose the item you want to display. Do this by choosing “overlay” then “your own” and if you are using a HoopMama file, locate the PNG image and push “open.”

- Size rotate to where you want it on the background. TIP adjust the “fade” so that the image isn’t too bright on the background. This will help it not LOOK like a mock-up.

- That part is down! Now to “brand” it.
- Watermark the image by choosing “text,” typing your or your business name, and adjusting the fade to where it covers the image without taking away from the visual aesthetics of the design. (You can also overlay a watermark if you already have one saved on your computer.)

- Then insert your logo by choosing “overlay” and “your own” like we did before for the image.
- When you’ve made the adjustments you want to make, choose “save” at the top!

- After you push save, it will bring you to screen where you can choose the quality of your image. I would suggest at least doing the “Pierce” size and then save it to your images to display!

CREATING A MOCK UP WITH HOOPMAMA EMBROIDERY FILES
With Embroidery files you need to create an un-watermarked image. I will show you how to do this in Embird. If you don’t have Embird, you can probably do this with whatever software you have, or you can download the trial of Embird as well.
- Open the design in the size of your choice in “manager” in Embird. It doesn’t matter what format you choose. (Note: if you only have a 4×4 field, use the 4×4 design. People won’t be happy if it looks different than what they order.)
- Right click and choose “Export Image.”

- After you choose “Export Image,” this screen will pop up. Make sure to change the file name to something other than what naturally populates so you don’t save over files. I chose “IMAGE” for this one.
- Change the “Save As File Type” in the bottom left corner to “JPG.”
- Change the quality in the bottom right corner of the box to “100.”

- Visit PicMonkey.
- Choose “Edit” at the top of the screen.
- It will direct you to open a file from your computer. You can choose a mock-up you’ve created, or choose one of HoopMama’s Mock-Ups!
- After you open your background image, you will choose the item you want to display. Do this by choosing “overlay” then “your own” locate the IMAGE you saved and push “open.”
 In the “Overlay” box under the “Blend modes” drop down, choose “Multiply.” This will take the background away and turn it into a transparent image.

Rotate and place where you would like. Sometimes you need to adjust the “fade” for it to fit nicely with your background and not be too bright.
- Once that’s set, you need to watermark and add your logo!
- Watermark the image by choosing text or “Tt” option (4th option from the top), typing your or your business name, and adjusting the fade to where it covers the image without taking away from the design.
- Insert your logo by choosing “overlay” and “your own” like we did before for the image.

- When you’ve made the adjustments you want to make, choose “save” at the top! After you push save, it will bring you to screen where you can choose the quality of your image. I would suggest at least doing the “Pierce” size and then save it to your images to display!

And there you go! You now know how to easily do a mock-up and it look great!
If you would like to own the mock-up used in this tutorial, click here.
For the “My Cape is In the Wash” design, click here for SVG, or here for Embroidery.
For the “Dance To Express Not To Impress” design, click here for SVG, or here for Embroidery.
Check out some of the other mock-up images available from HoopMama!


